How to download videos onto Ipad and use them without wifi (updated 2019)
Many of us use the iPad instead of a computer, and that comes with a number of advantages such as portability and larger screen than mobile. Until iOS 13, it was almost impossible to save a video directly to the iPad.
If you have upgraded your operational system on the iPad to 13 or higher, then you CAN save your lessons to the iPad. It's still not a very easy and straightforward process, but it CAN BE done.
Step 1:
Log into your teachable account and find the lesson video you wish to download.

Step 2:
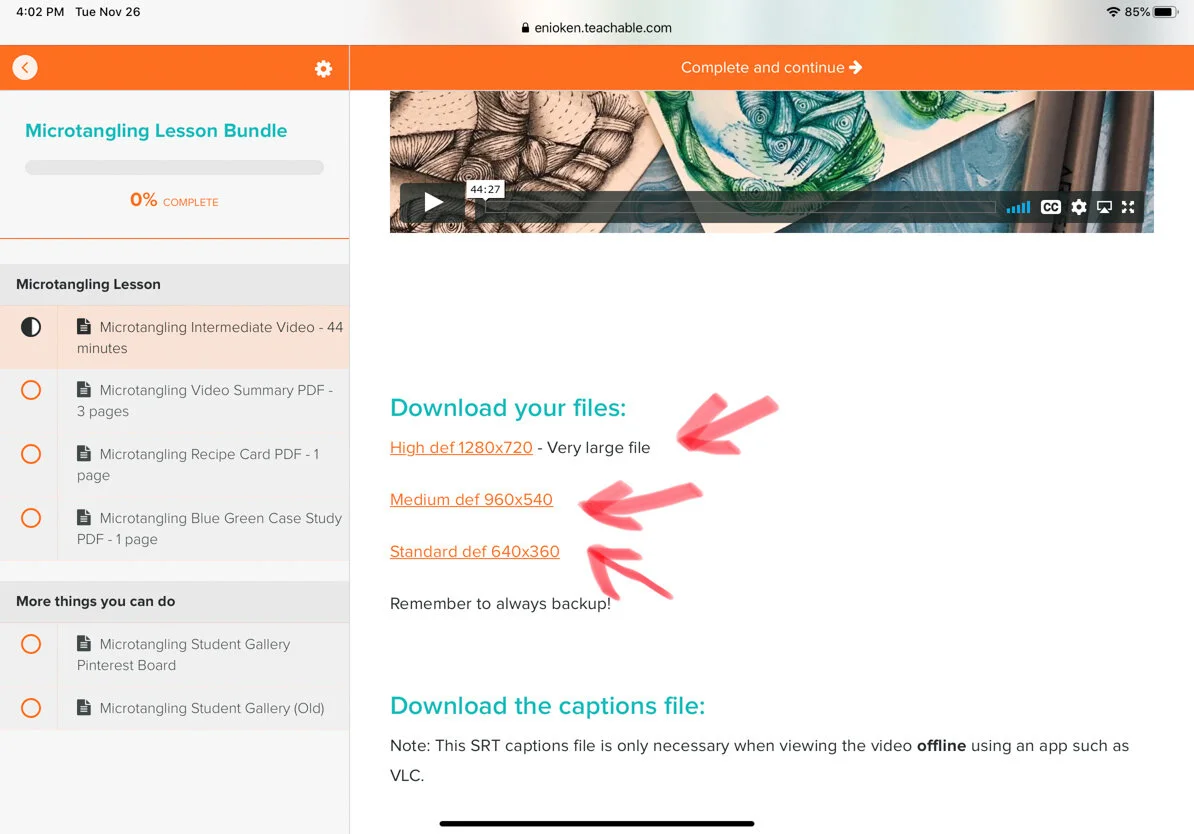
Right underneath the video window you will see three links to download. Choose the one that is more compatible with your internet speed.
Keep in mind that this link is only found on lessons that are yours to keep. If you got your lesson through the Art Club bundle, then downloading is not available.
Step 3:
Choose the option Download in the next screen.

Step 4:
HERE'S WHERE IT GETS TRICKY, follow carefully. At the top of the screen you will see a small circle with a down arrow. Tap on that circle and then tap on the name of the video to start the download.

Step 5:
The video will start to download and the progress bar will move.

Step 6:
HERE'S ANOTHER TRICKY MOMENT. Once the download is done, nothing will seem to happen. Tap once again on the name of the video.

Step 7:
The video will appear on your window. WAIT, YOU'RE NOT DONE.

Step 8:
Use the Share button (the little square with an arrow pointing up) and choose Save Video. This will finally save the video to your Photos section.

Step 9:
If you visit your Photos, you will find the video downloaded there and it can be viewed at any time without internet.

I understand that this is a complicated, multi-step process and I’m sorry that there isn't an easier way to do this. Please remember that this is an apple iPad limitation, not mine.